Local SSO instance (Keycloak)
Table of Contents
Setup
You can setup your own keycloak instance using the provided templates from the PMD-Server repo.
Requirements
- working directory is base directory of the PMD-Server repo as described under PMD-S Core
- Running reverse proxy as described under - Reverse Proxy
1. Copy the template files
1
2
3
4
5
6
7
8
9
10
11
# create separate directory
mkdir keycloak

# copy the compose templates
cp compose-templates/docker-compose-keycloak.yml keycloak/docker-compose.yml
# generate random passwords and insert them into the template config
PASS_STR="$(< /dev/urandom tr -dc _A-Z-a-z-0-9 | head -c"${1:-128}")"
sed -e "s/\[password\]/${PASS_STR:0:64}/" -e "s/\[db password\]/${PASS_STR:64}/" config-templates/keycloak_config.json > keycloak/config.json

# change into Keycloak directory
cd keycloak
2. Configure the service
After copying the templates you should view and if necessary adjust the configuration (config.json):
{
    "shared" : {
        "db_password"             : "[db password]",
        "db_name"                 : "keycloak",
        "db_user"                 : "keycloak",
        "db_host"                 : "keycloak-db"
  },
    "keycloak.env" : {
        "KEYCLOAK_ADMIN_PASSWORD" : "[password]",
        "KEYCLOAK_ADMIN"          : "admin",
        "KC_DB"                   : "postgres",
        "KC_DB_URL_HOST"          : "shared:db_host",
        "KC_DB_URL_DATABASE"      : "shared:db_name",
        "KC_DB_USERNAME"          : "shared:db_user",
        "KC_DB_PASSWORD"          : "shared:db_password",
        "KC_HOSTNAME"             : "[hostname]"
    },
    "keycloak_db.env" : {
        "POSTGRES_DB"             : "shared:db_name",
        "POSTGRES_USER"           : "shared:db_user",
        "POSTGRES_PASSWORD"       : "shared:db_password"
    }
}
Make sure to verify that custom passwords for the database ([db password]) and
the Keycloak admin user ([password]) and the hostname through which the
service shall be reachable ([hostname]) are filled in before you continue and
start the service.
3. Start the service
Note: In case your python version is not >=3.5, you can also run the
configure.pyscript within a docker container
1
2
3
4
5
6
7
# create environment files from config
python ../scripts/configure.py

# start the keycloak service
docker-compose up -d
# check if the service is up and running
docker-compose ps
4. Make the service available by adding it to the reverse proxy
Finally, you just need to add the service to the reverse proxy to make it available.
This section assumes you are using Let’s Encrypt certificates. If you want to use your own certificates, skip the “certificate generation” part and adjust the paths to the certificates accordingly, as described under Reverse Proxy configuration
First you need to change back to the pmd-server directory
1
cd ..
certificate generation
You can now generate the certificate for the service using certbot:
1
docker-compose exec certbot certbot certonly --webroot -w /var/www/certbot -d [KEYCLOAK_URL]
After the certificate has been created you can add the nginx configuration:
1
2
3
4
5
6
7
8
9
# save KeyCloak URL to shell variable
# ! Replace "sso.domain.de" with the actual URL for the service
export KEYCLOAK_URL=sso.domain.de

# add the nginx configuration from the template
sed "s/\[URL\]/${KEYCLOAK_URL}/" data/nginx/keycloak.conf.template > data/nginx/keycloak.conf

# Check and adjust the template if necessary
vi data/nginx/keycloak.conf
Finally the new configuration just needs to be loaded by nginx:
1
2
3
4
5
# Test the new configuration
docker-compose exec nginx nginx -t

# Reload nginx
docker-compose exec nginx nginx -s reload
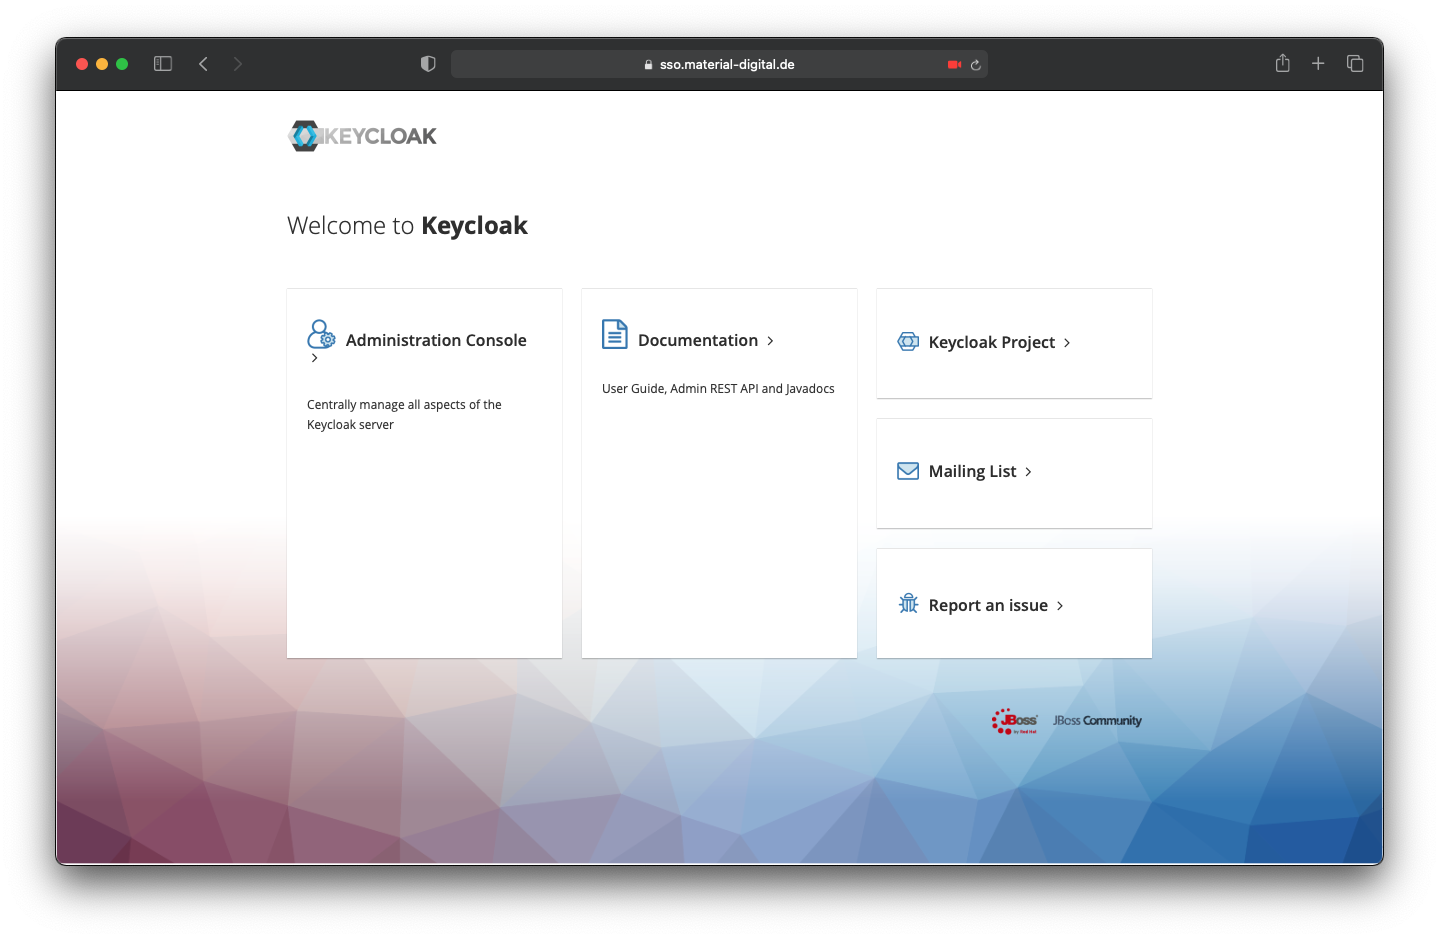
5. Test Your SSO-Instance
Once completed you should now be able to access Keycloak under the [KEYCLOAK_URL] and login with the credentials from the configuration (KEYCLOAK_USER and KEYCLOAK_PASSWORD).